Using Notion as a Blog Editor
I recently discovered a quick way to compose and publish posts on my github.io blog using Notion as the main editor. By initially drafting posts in Notion and then exporting the content to CSV, I can have new posts published on my github.io within minutes. Here's how to do it:
Step 1: Set Up Your Notion Account
- Sign up for Notion if you haven't already. You can use the web version or download the desktop app.
- Once signed up, create a new page in Notion dedicated to your blog.
Step 2: Create a Blog Page
- In your Notion workspace, create a new page specifically for your blog content.
- This page will serve as the central hub where you organize all your blog posts.
- Utilize Notion's features such as drag-and-drop for images, toggles, numbering, and customizable layouts to enhance your posts.
Step 3: Export Your Page to CSV
-
After completing your post, export the page for future publishing.

-
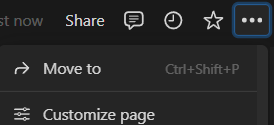
Locate the export option in the top-right corner of the page.
-
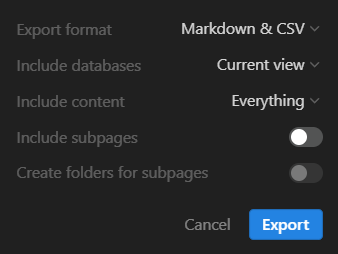
Remember to select CSV as the output format.
-
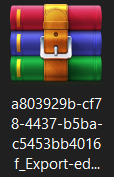
After clicking Export, your browser will download the page with a long, unique name, which is normal.
Step 4: Paste Your Page into Your Mkdocs Project
- Extract the archive file to obtain the Markdown file along with a folder containing necessary data for the page.
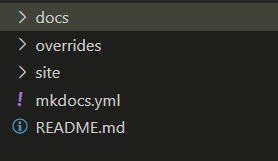
- Your Mkdocs project layout will typically resemble the following. Simply copy and paste the extracted folder and .md file into the docs folder.
Step 5: Publish Your Page and Finish
- The final step is to modify your mkdocs.yml file to display your page on your github.io. Instructions for modifying mkdocs.yml can be found here.
-
Once you've made the necessary modifications, push your page using the
mkdocs gh-deploycommand.
Conclusion
Using Notion as a blog editor offers flexibility, organization, and ease of use. With its intuitive interface and powerful features, you can efficiently manage your blog content and focus on creating engaging posts.